Have You Seen Our Clock Buying Guide?
We have developed a master guide to purchasing a custom Grandfather clock. Fill out the form to get access to our guide. (no email required)
Discover simple and effective tips for hanging your wall clock with ease! Learn from the experts to make the process smooth and stress-free.
The wall clock takes center stage in a room’s aesthetics, bringing everything together and setting the mood. But is your room still yearning for that finishing touch of a wall clock? You might be postponing the whole thing; after all, dealing with drilling, measurements, and placements is not a child’s play.
But hold on! Hanging a wall clock can be surprisingly simple and fun. Join us as we are about to dig deeper into our comprehensive guide on how to hang a wall clock.
Keep on reading!
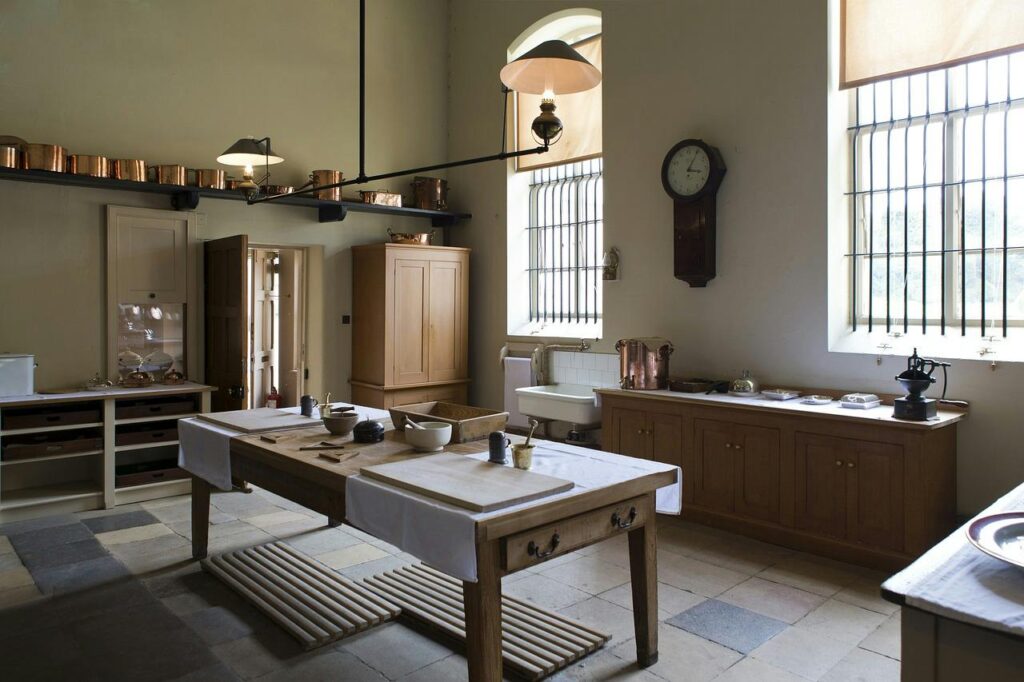
Naturally, your first concern is figuring out the perfect place to hang your wall clock. Here are some ideal spots for a wall clock:
Let’s explore a few important things that you must consider in this DIY project of how to hang a wall clock:
The size of your wall clock should align with the space where you want to place it. For instance, large clocks are more suitable for living rooms or hallways. Conversely, small-sized ones would make a statement in more intimate spaces, serving as a subtle addition rather than a main attraction.
The hanging height of the clock is crucial for both visibility and aesthetics. A common guideline is to hang it at eye level, typically around 57 to 60 inches from the floor to the clock’s center. However, the optimal height may vary depending on your room’s layout, furniture placement, and ceiling height.
Before hanging the clock, assess the material and stability of the wall to ensure it can support its weight. For example, drywall is ideal for hanging lightweight clocks with nail hangers, but it may require anchors for heavier ones.
Similarly, plaster and brick walls necessitate anchors designed specifically for this material to reduce the risk of cracking.
For mounting a heavier wall clock, secure it to the wall stud for added support. You can use a stud finder tool to locate them on your wall. Once found, mark their locations with a pencil. This will serve as your guide for positioning the hanging hardware of the clock to achieve maximum stability.
As you plan the placement of your wall clock, ensure its face is visible from key areas in your room. Also, consider the clock’s color and design for readability against the wall color and lighting conditions.
Once you’ve taken care of the basics, let’s go through the whole process bit by bit.
Before hanging a wall clock, grab a few important tools and materials. While the requirements might vary according to the type and weight of the clock, here’s a go-to list to consider:
For other required items, you can check the wall clock instruction manual.
Now that you have everything required for this project, follow the below steps to hang your clock:
After you’ve chosen the wall, prepare it for the installation process. Start by cleaning any dirt and dust off the wall surface using a clean, wet cloth.
Next, inspect the wall for any cracks in it. If found any, fill them in with spackle and use sandpaper for a smooth surface.
Now, mark the placements first before you proceed toward execution. Here’s how to do so:
Connect the two dots by a straight line using a pencil and a level. This will help you with the precise positioning. Double-check to ensure it fits ideally within your desired area.
To begin with, drill pilot holes on the marked dots for inserting anchors or screws. Remember, the holes should perfectly match the size of the hardware you’re using.
Then, firmly secure the wall anchors or screws inside the holes until they level perfectly with the surrounding wall surface. Attach the hanging hardware on the wall steadily, like a bracket or a hook.
To evaluate the strength of the hanging apparatus, gently tug to confirm it is firmly attached to the wall. You can also shake it slightly to detect any instability.
If required, make any modifications to ensure the mounting mechanism is sufficiently supportive of your wall clock.
Clean the clock, pick it up, and gently slide it on the mounting apparatus attached to the wall. Hook it securely to avoid damaging the clock and your house’s interior.
Tap the wall clock to verify that it is attached securely. You can also push it from various directions to confirm its stability. If it appears shaky or imbalanced, re-adjust its position or modify the hanging equipment accordingly.
Here are some last steps you must follow to finish your task:
Bonus Tip: Clean off any debris or pencil markings off your wall after you hang the wall clock. This is crucial to give your space a tidy final look!
If you are still looking for the perfect wall clock for your room, explore our exquisite collection of wall clocks at Old Time Chimes. Whether you’re spicing up your living room, bedroom, or kitchen, our extensive range of wall clocks caters to every taste and interior design theme.
Moreover, we can also customize your clock to have a spring-driven or battery-powered movement. So, get in touch with us today and invest in a wall clock that makes a statement and stands the test of time!